
Day 11 of my #12daysofDIY and I’ve invited a furry friend along for this one.
This weekend we were dog sitting my mum and dad’s puppy, Wilson. He is such a babe and I am surprised I got any work done with that little face staring up at me but I thought I’d take advantage of it and make something for him.
This crocheted pet scarf is really quick to whip up and perfect for beginners, so if you fancy making your furry friend a winter warmer this Christmas, keep reading…

Wool, Style Craft
4mm crochet hook
Scissors
Sewing up needle
Pom pom maker, Hobby Craft
I am using UK crochet terms.
To start I chained 10 stitches, then turned my work, and chained another 3. Then I trebled crocheted into the third space from the hook and trebled crocheted all the way to the other end. In total I had 11 stitches on each row. I carried on treble crocheting like this for about 10 rows.
Creating the gap
I created a little hole for the scarf to loop through after about 10 rows by making 5 treble crochets then turning and working like this for 5 rows. This created a column on one side, I then cut off my yarn and did the same on the other side.

By creating two column of 5 it left a gap of 1 stitch in the middle. Once I had two columns of the same length, I joined them together with a single row as normal. I added the extra stitch back in by increasing one stitch along this row. Then I had 11 stitches again. I carried on as normal until the scarf measured long enough to fit around Wilson’s neck with a little over hang. I tied off my yarn and sewed in any ends with a thick sewing up needle.


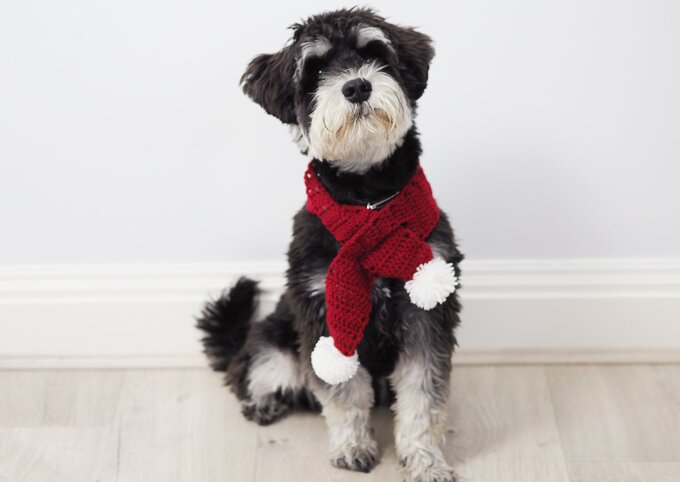
I added the finishing touches to the scarf with some poms poms I made using some white yarn and a pom pom maker, similar to how I made them in my pom pom wreath post.
Wilson loved his little scarf, although he did try to chew the pom poms! The good thing about this scarf is you can adjust it to fit the size of you dog by adding more stitches on the row to make it thicker or adding more rows to make it longer.
How cute does he look?


Thank you for stopping by today, I can’t believe tomorrow will be the last day of my #12daysof DIY challenge, to see all the other posts click here.
Through out this challenge I am posting a new DIY everyday to help raise awareness and money for an important cause, Shelter. Winter is such a harsh time for those living on the streets or in unsafe housing, I wanted to make a small difference by doing my bit. If you have enjoyed any of my posts or have made something following my tutorial, all I ask is for a small donation to Shelter. Even the price of a cup of coffee can make the world of difference. If you would like to donate via Just Giving, click the link below.

Thank you and I’ll see you tomorrow for the last day in my challenge!
Anna
x
Please note I am not a crochet designer, I have simple made this pattern up using my basic knowledge. Sizes may vary due to yarn weights and hooks used. I am using UK terms, please bare in mind US terms can be different.