Photo and prints are my favourite things to have in the house, they can instantly add character, interest and depth to a blank interior or wall. By combining both in a gallery wall you can create a unique focus point in any room.
I recently hung a few of my favourite prints in my bedroom and love how such a quick and easy DIY update can transform the space, so here are my top tips and tricks for easily creating the prefect photo wall.
You will need:
Photos and prints
Frames
Picture hooks and nails
Hammer
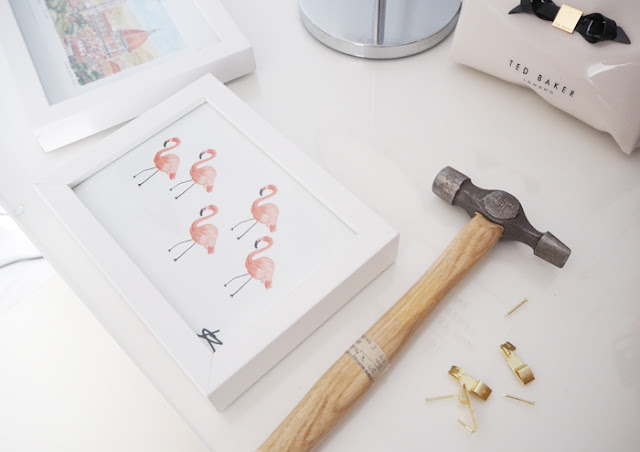

The best bit about a gallery wall is that it doesn’t have to be perfect, in fact getting different shapes and sizes of frames makes it even more special and unique. I have tried to stick to white frames but varied the sizes, shapes and textures. Try hanging a print using a bull dog clip or peg instead of a frame for added quirkiness.
When it comes to choosing what goes in the frames, just have fun with it. I have collected a few prints from various European city breaks and paired them next to a favourite quote and a print I bought from an artist in a bar. I love that each one has a story and meaning, as well as being nice to look at.

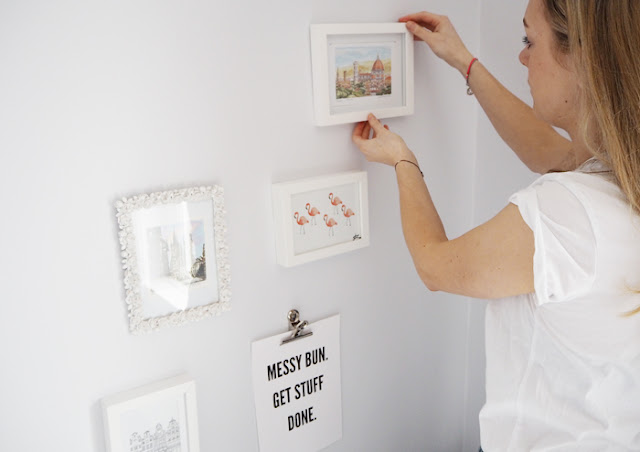
Start by planning where you want each print to go, ask a friend to hold each frame in various places to help you decide which looks best. Try to start with a central frame and build around that. I just judged distances between frames with my eye, as I feel this give a more natural, less structured feel to the wall. Try to keep distances similar and avoid building symmetrically.
Once you are happy, grab a small picture nail and mark the wall just above the top of the frame in the center. Place the frame down, then place the nail on the mark and angle it at about 45 degrees from the wall then hammer in about two thirds of the nail. If you want to use picture hooks, place those on before hamming in the nail.


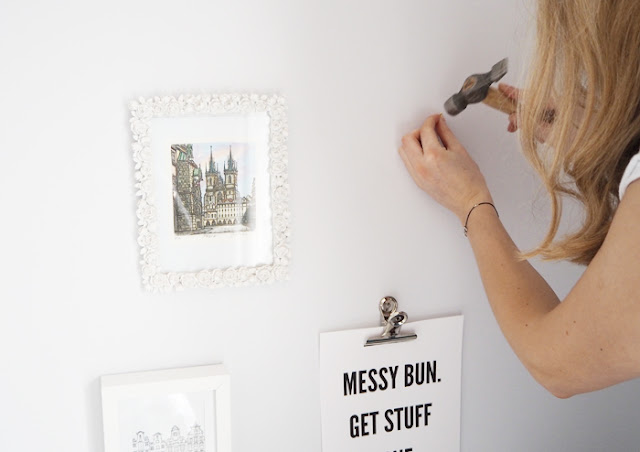

Now it’s time to place your frame on the hook.
Try and position it it in the center of your frame by peering behind the frame as you hang it. (A little tricky and potentially painful if you have no spacial awareness like me *rubs sore forehead* but it works a treat if you are struggling to get it central). Stand back and adjust the frame until it looks straight from where you are standing. I left room for a few more prints to the left on my wall, so bare this in mind if you want to add more later.
Top tip, hanging pictures higher up on a wall makes a room look bigger!


Photos are not only good for evoking memories but also inspiring the everyday. I love traveling and my prints remind me of the beautiful places I have been lucky enough to visit whilst making me think ‘where next?!’
What would you hang in your photo gallery?
Anna
x
P.s Like my ‘Messy bun’ print? Did you know you can get 20% Coconut Lane with code ‘MADEUPSTYLE20’! Check out all the other amazing prints they have here…http://www.coconut-lane.com/