I don’t know about you guys but I’m currently crushing over dark grey interiors at the moment.
From moody statement walls to cool matt furniture I think I might be in love… So when the lovely people at The Hairpin Leg Co. got in touch I jumped at the chance to create something to tie in with this trend. Hairpin legs are the easiest way to customise or up-cycle furniture with a modern twist. As you guys know I love copper, and these metallic legs are the perfect contrast with a moody grey. Keep reading to see how I up-cycled this simple IKEA crate to make a stylish DIY crate side table with The Hairpin Leg Co. and how you can make one too.
What I used:
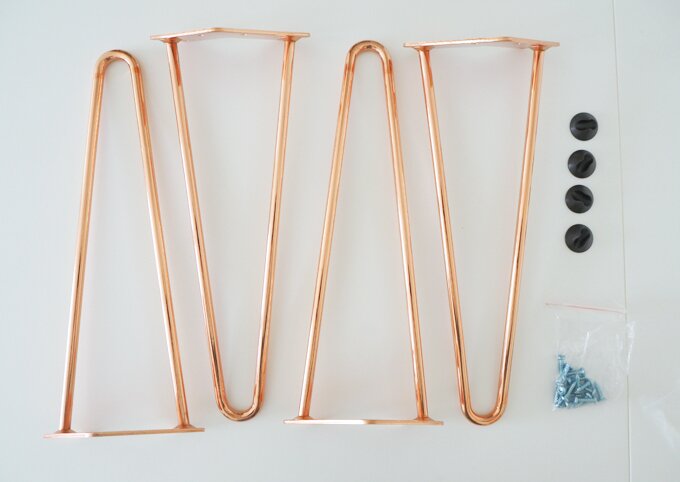
35cm copper hairpin legs, The Hairpin Leg Co.
Large Knagglig crate, Ikea
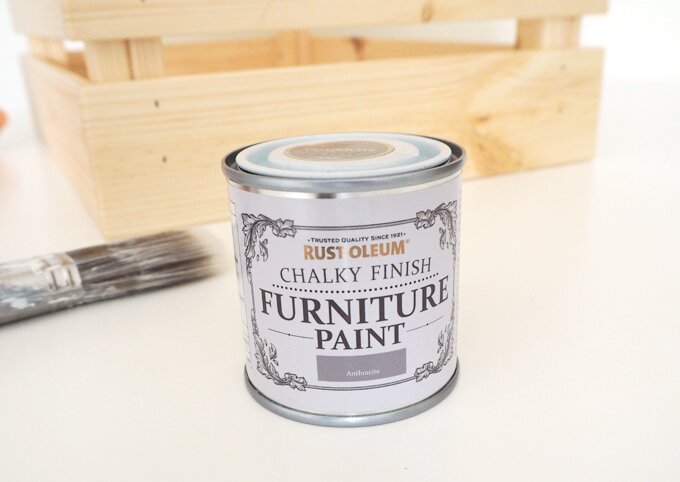
Chalky finish furniture paint in Anthracite, Rustoleum
Screws, provided by Hairpin Leg Co. plus 12x 4x12mm screws for thinner wood.
Paint brush
Screwdriver
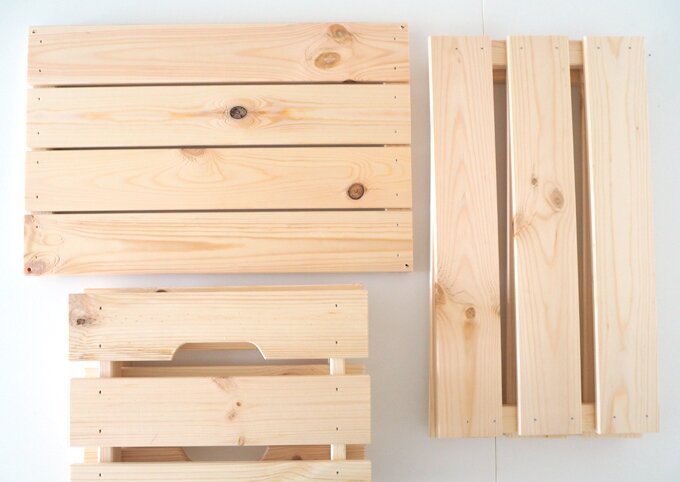
I have been wanting to make a DIY crate side table for a while now and despite getting my hands on an old wooden pallet from work, I thought it would be much easier to use something already cut to size. When I spotted Ikea had some simple wooden crates in store I thought it would make the perfect hack! You know I love an Ikea Hack!
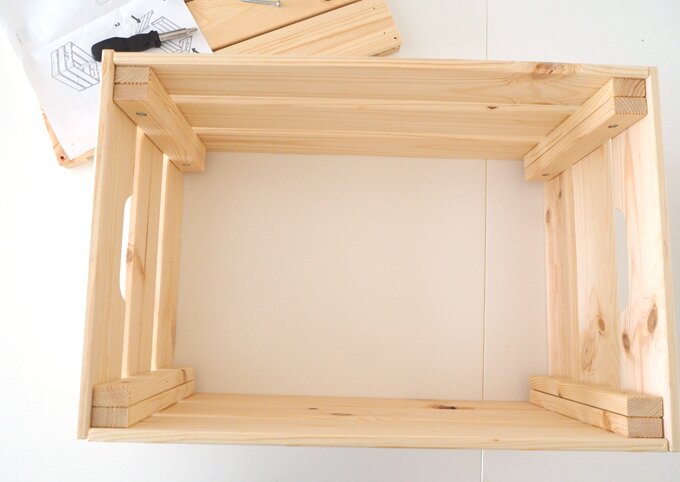
Building the crate
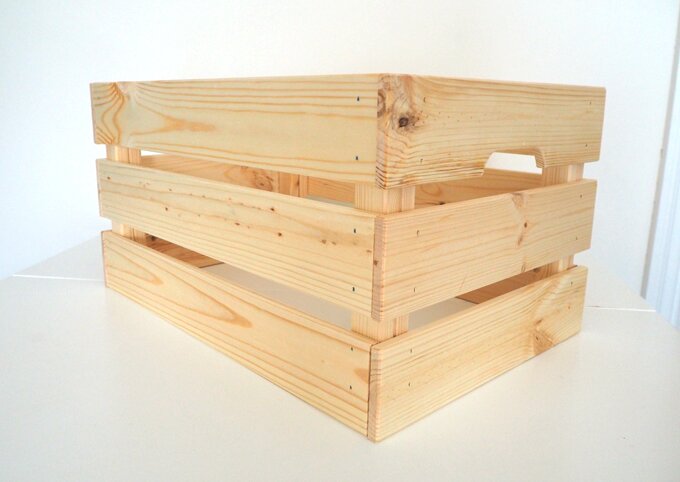
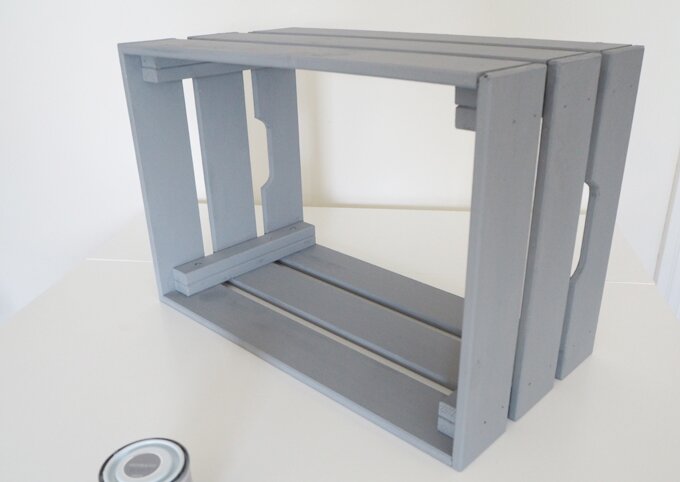
I bought the largest Knagglig box for £9 and after a little constructing I was ready to paint. I decided to leave the bottom pallet off my box. Basically I just stopped after I had attached all four sides, as I wanted my table to be open. But you can complete the box if you want to make a side table with a closed back. I planned to turn the box on its side using one longer side as the top of my table.
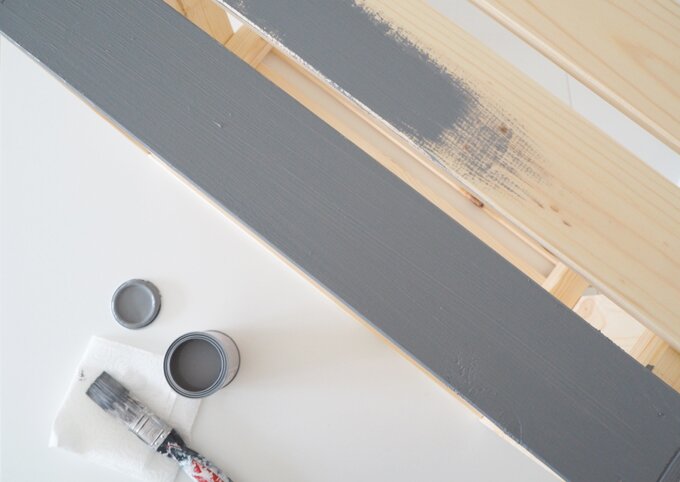
For paint I used the chalky finish furniture paint from Rustoleum in shade Anthracite as I wanted a matt chalky effect to my table. The unfinished wood of the crate took the paint really well and I was impressed that the whole box only needed one coat of paint. I used a small 125ml tester pot of the paint, and only used about 2/3 of the can!
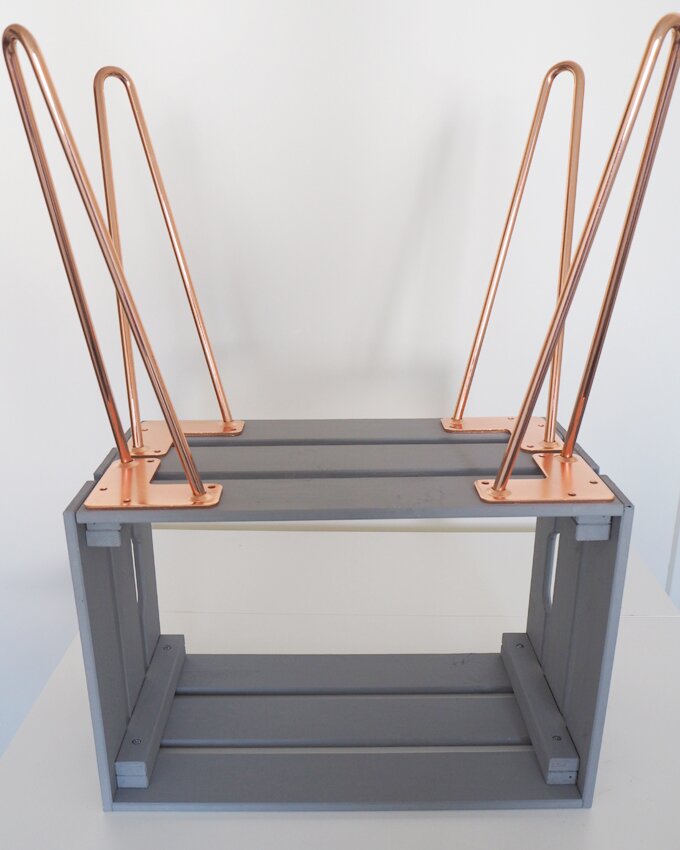
Adding the hairpin legs
Once I painted all sides of the box and had left it to dry, it was time to screw on the hairpin legs. I decided which side I wanted to be the base (I chose the side with the most nicks and grains as I wanted the topside to be nice and smooth), and placed the hairpin legs at each corner pointing outwards.
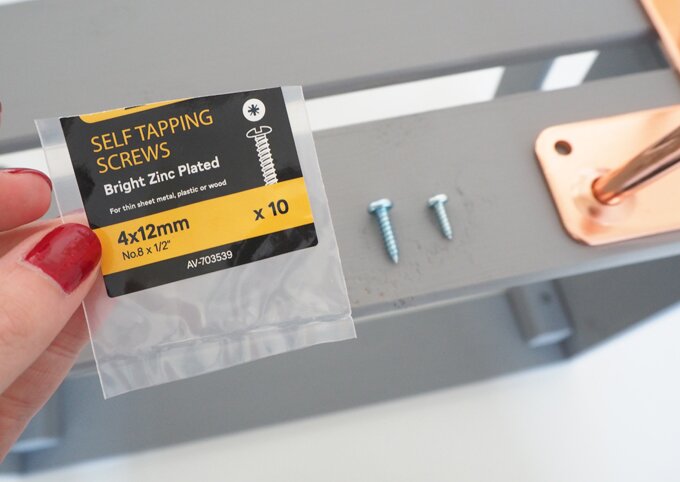
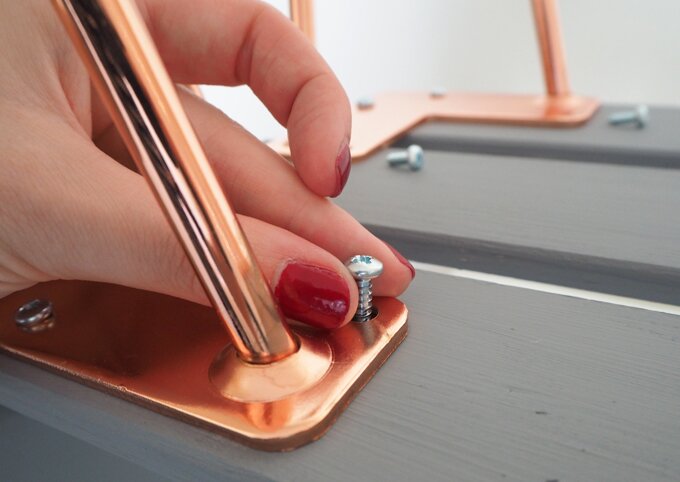
The Hairpin Leg Co. kindly provide screws in each delivery (suitable for wood thicker than 20mm) so I used four of these for the thick parts. Then bought some extra 4x12mm screws for the areas with thinner wood. Once the legs were positioned in place I grabbed a screw driver and put some elbow grease in. Although a little more effort, I would recommend using a screw driver over a drill as the wood is quite thin in areas of the crate and the shock of the drill could split the wood. The legs felt really sturdy and secure once the screws were in place and I was really impressed with how easy they were to attach.
All that was left to do was flip the table over and decide what I wanted to fill it with! The hairpin legs came with rubber feet to place on the bottom of the legs too if you want a little extra grip for your table.
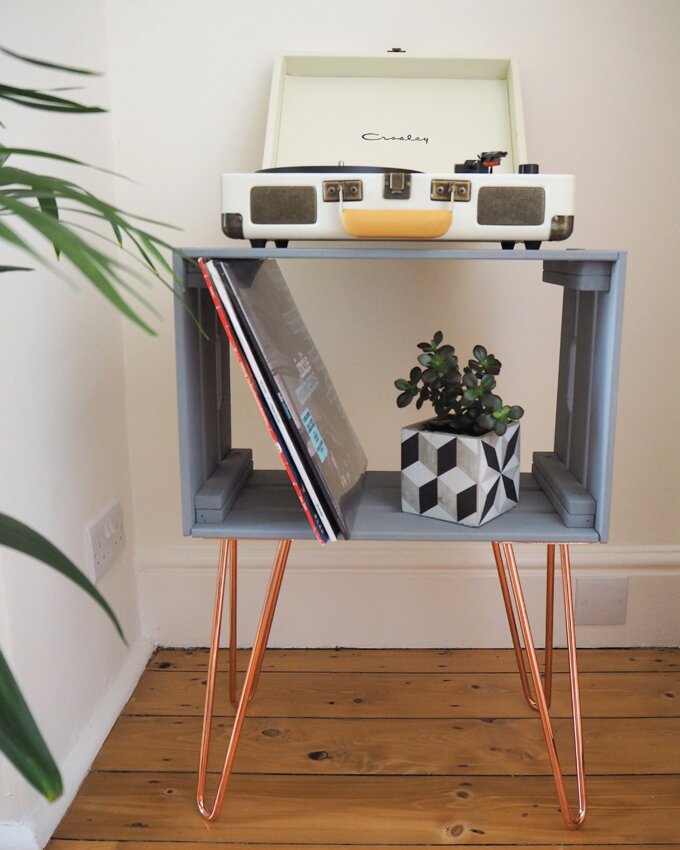
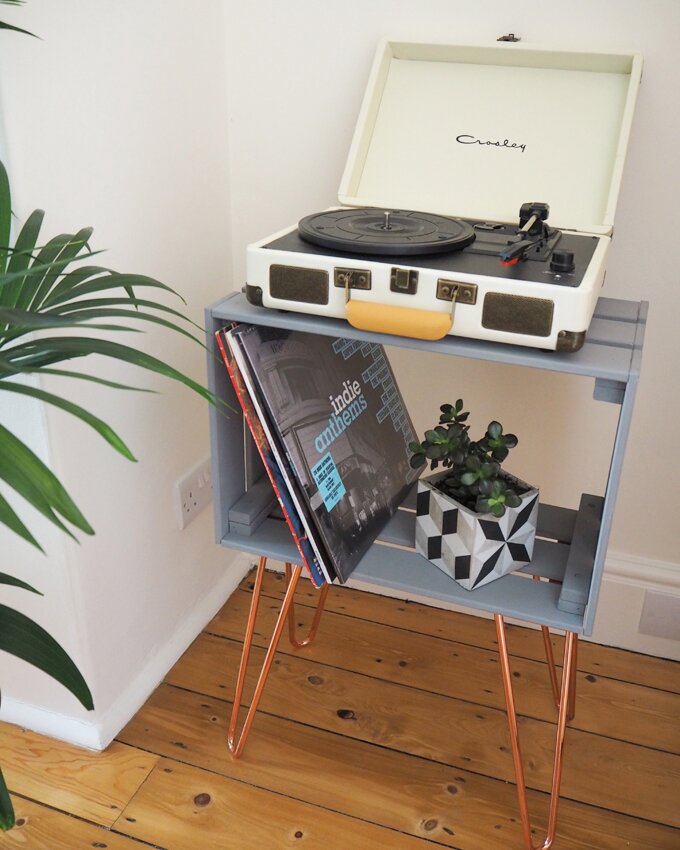
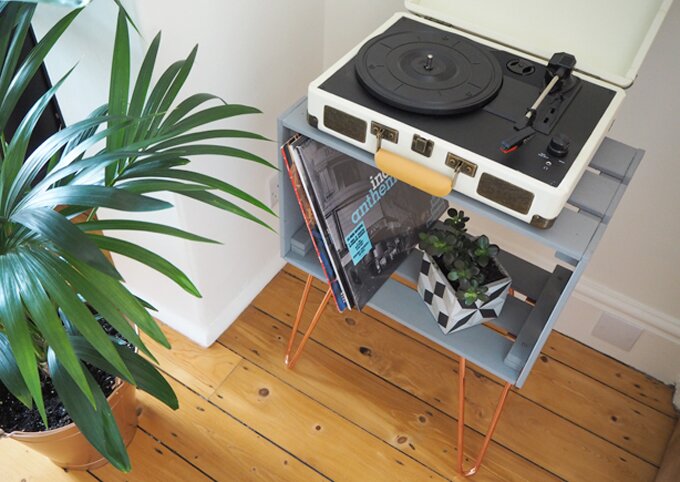
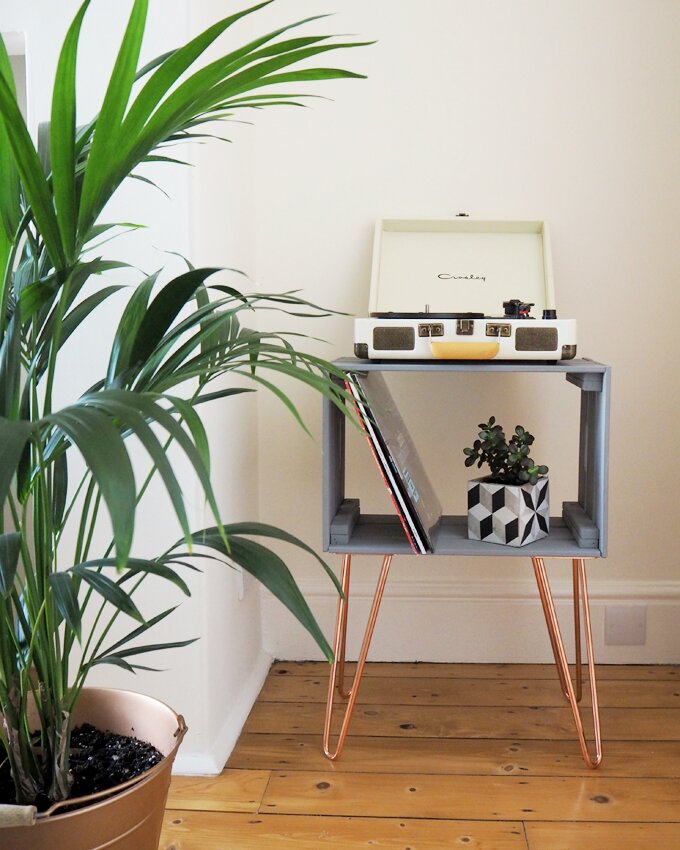
The finished result
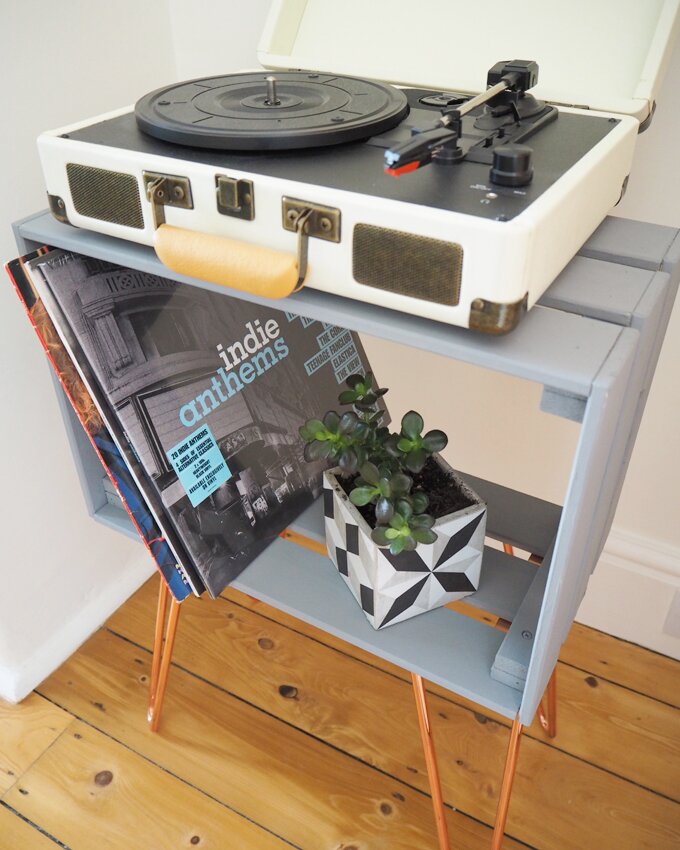
My new DIY crate side table is going to live in the dining room in a little neglected corner of the room that needed an injection of personality! I think the table does just the job! I love how the crate is the perfect size to store vinyls and books. I’ve placed Tom’s vinyl player on the top level. It’s just the right size and means it’s more likely to be used at this height. Before it was stuck up on the top shelf of our book case.
I’m super happy with how my little DIY crate side table turned out and how simple it was to make. What do you guys think? I’d love to hear if you’ve DIY’d anything similar or have used hairpin legs before, leave me a comment below or head over to my Instagram and send me a DM!
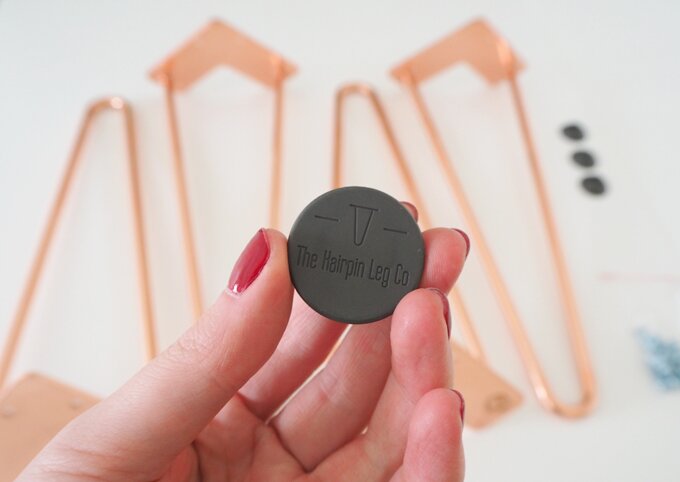
Big thank you to The Hairpin Leg Co. who kindly gifted me the legs in this post.
Check out their website here for more colours, sizes and styles.
Anna x
Want more DIY inspiration? Try these…
Make your own faux fur fluffy stool
How to make pendant bedside lamps