
A wreath with a twist…
It’s day two of my #MadeUpFestive challenge and today I’ve teamed up Wool Couture to make a Christmas wreath with a twist. You might remember I made a chunky arm knitted blanket using Wool Couture’s gorgeous chunky wool a while back, so I jumped at the chance to use it again for a festive project.
This chunky crocheted wreath is super easy to make using one of their DIY kits. Perfect for beginners. It makes for a cosy alternative to a traditional wreath for craft lovers. Not to mention they come in a variety of lush colours, you’ll find it hard to choose just one…
Keep reading to see how I got on and how you can make your own….
Materials
1 x Wool Couture Christmas crochet wreath kit
Scissors
Chunky sewing needle (optional)
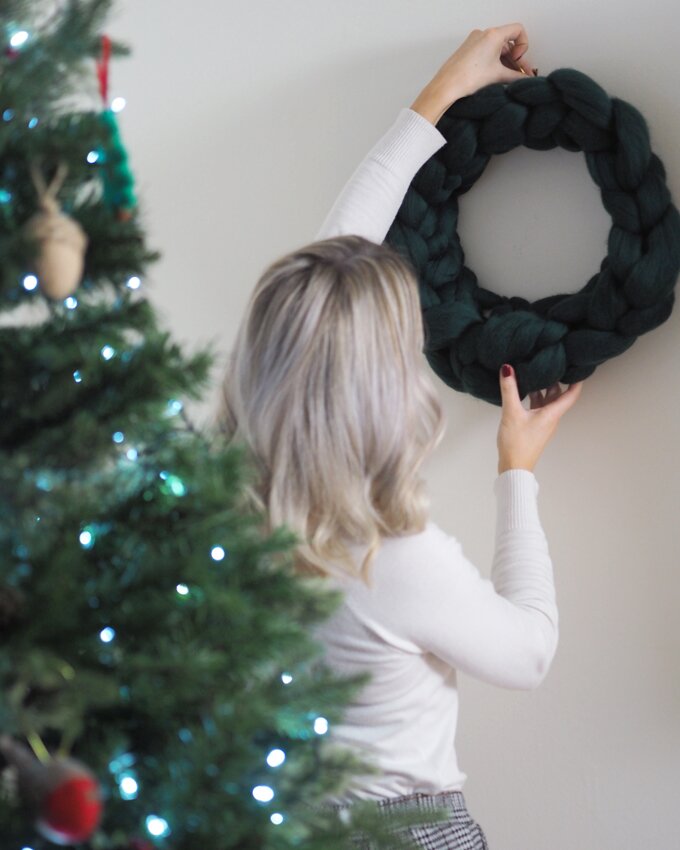
The kit comes with a wooden wreath frame, the chunky wool of your choice and step by step instructions. I chose the colour ‘Conifer’.


Round One
To start, tie a slip knot in one end of the yarn.
- Place the slip knot over your wrist. With the yarn at the back of the wooden hoop and the slip knot in front, grab the yarn from the back of the hoop. Pull through the slip knot on your wrist.
- Place your wrist through this loop. Grab the yarn from the outside of the hoop this time and pull through the yarn loop on your wrist.
- Repeat step 1 and 2 14 more times around the hoop.

Round Two
- With the last loop on your wrist, slip you hand through the first loop you made. Hint: the one closest to the knot at the end. Grab the yarn end and pull through this loop.
- You should have two loops on your wrist now. (3)Grab the yarn end and pull through both loops on your wrist. Similar to making a double crochet.
4. Repeat these steps all the way around your crocheted wreath until the end. Approx another 14 stitches.

Finishing Up
All that’s left to do is cut off the yarn and weave in any loose ends. I made a knot at the back of my wreath to secure the yarn and trimmed the ends. I also evened out the stitches by gently pulling each one all the way around. To hang my crocheted wreath up, I added a small loop of ribbon at the top.


What do you think?
I love the feel of this yarn, it’s so beautifully soft and delicate and makes the perfect crocheted wreath.
If you fancy making your own chunky crocheted wreath this Christmas, check out Wool Couture to see the colours on offer. What colour would you choose? I’d love to hear your thoughts, leave a comment below or message me on Twitter or Instagram. Big thank you to Wool Couture for collaborating with me on this post, as you know I’m a big fan of chunky wool and think it makes a unique and special Christmas decoration.
Anna x
Pin for later?

Want more festive DIY ideas?
How to make a crocheted pet scarf
Love this idea! It’s so lovely to make your own decorations at Christmas!