
If like me you love vintage prints, whether its ditsy
daisies or candy coloured prints, you’ll understand my excitement when I bought
this cute mint green light weight cotton material. I wanted to make something
simple but stylish for summer days out with it, so decided to make my own
vintage inspired summer crop top. I made
this garment using only 4 simple measurements on my body. This is a really easy
way to make a top that fits you without following a pattern, if you want to
make your own here’s how…
You will need:
- Fabric of your choice – approx. 1 meter
- Tape measure
- Scissors
- Pins
- Thread
- Ruler
- Chalks or pencil
- Tracing/graph paper or large sheet of card or similar.

Getting your measurements
To create a pattern you need to construct a box shape on
your card or tracing paper using your own personal measurements. Measure from
the center of your collar bone (throat) down to where you want your top to come
to, then add a few cm as you can always make it shorter but not longer. I am a
size 8 and I want mine around 50 cm long. This number will be the height.
Next measure around you waist, and then loosen the tape
measure to how baggy you want the top. For example my waist is 70 cm but I then
extended it to 88 cm. You then need to divide this number by 4 to get quarter
of the size to apply it to the box, mine would be 22cm. This number is the
width.
On your paper or card draw a rectangle using the height and
width measurements.
Marking one height side as your center fold side.

From there, measure from your collarbone out towards your
shoulder stopping where you want your strap to start. Mine was 10cm. Then add
the thickness of your strap e.g 5cm thick. Mark these on the top of the box. Measure
down from your collar bone again to how low you want your neckline e.g. mine
was 12cm.
Mark this on your center fold line and join the first strap
mark up with your neckline with a smooth curve to get your neckline.

The last measurement you need is from your under your armpit
down your side to the hem of your top.
Mine was 30cm, on your card measure up from the bottom of your box on the
side which isn’t marked centerfold. This is going to be the bottom of your armhole.
Draw a smooth curve from second strap mark down to armhole
mark. You can now see you top construction.
Add a seam allowance of 1.5 cm all the way around your
pattern leaving out the center fold line.
Cut out your shape.

Fold your fabric in half and place center fold edge of your
paper right up to the fold of the fabric.
Pin in place and cut.

Open your fabric up and you will have your front. Do the
same for the back but instead of cutting a scoop for the neckline, cut straight
across.
Lay the front and back pieces on top of each other making
sure you put right sides together and the wrong side is facing up.
Pin all around edges.
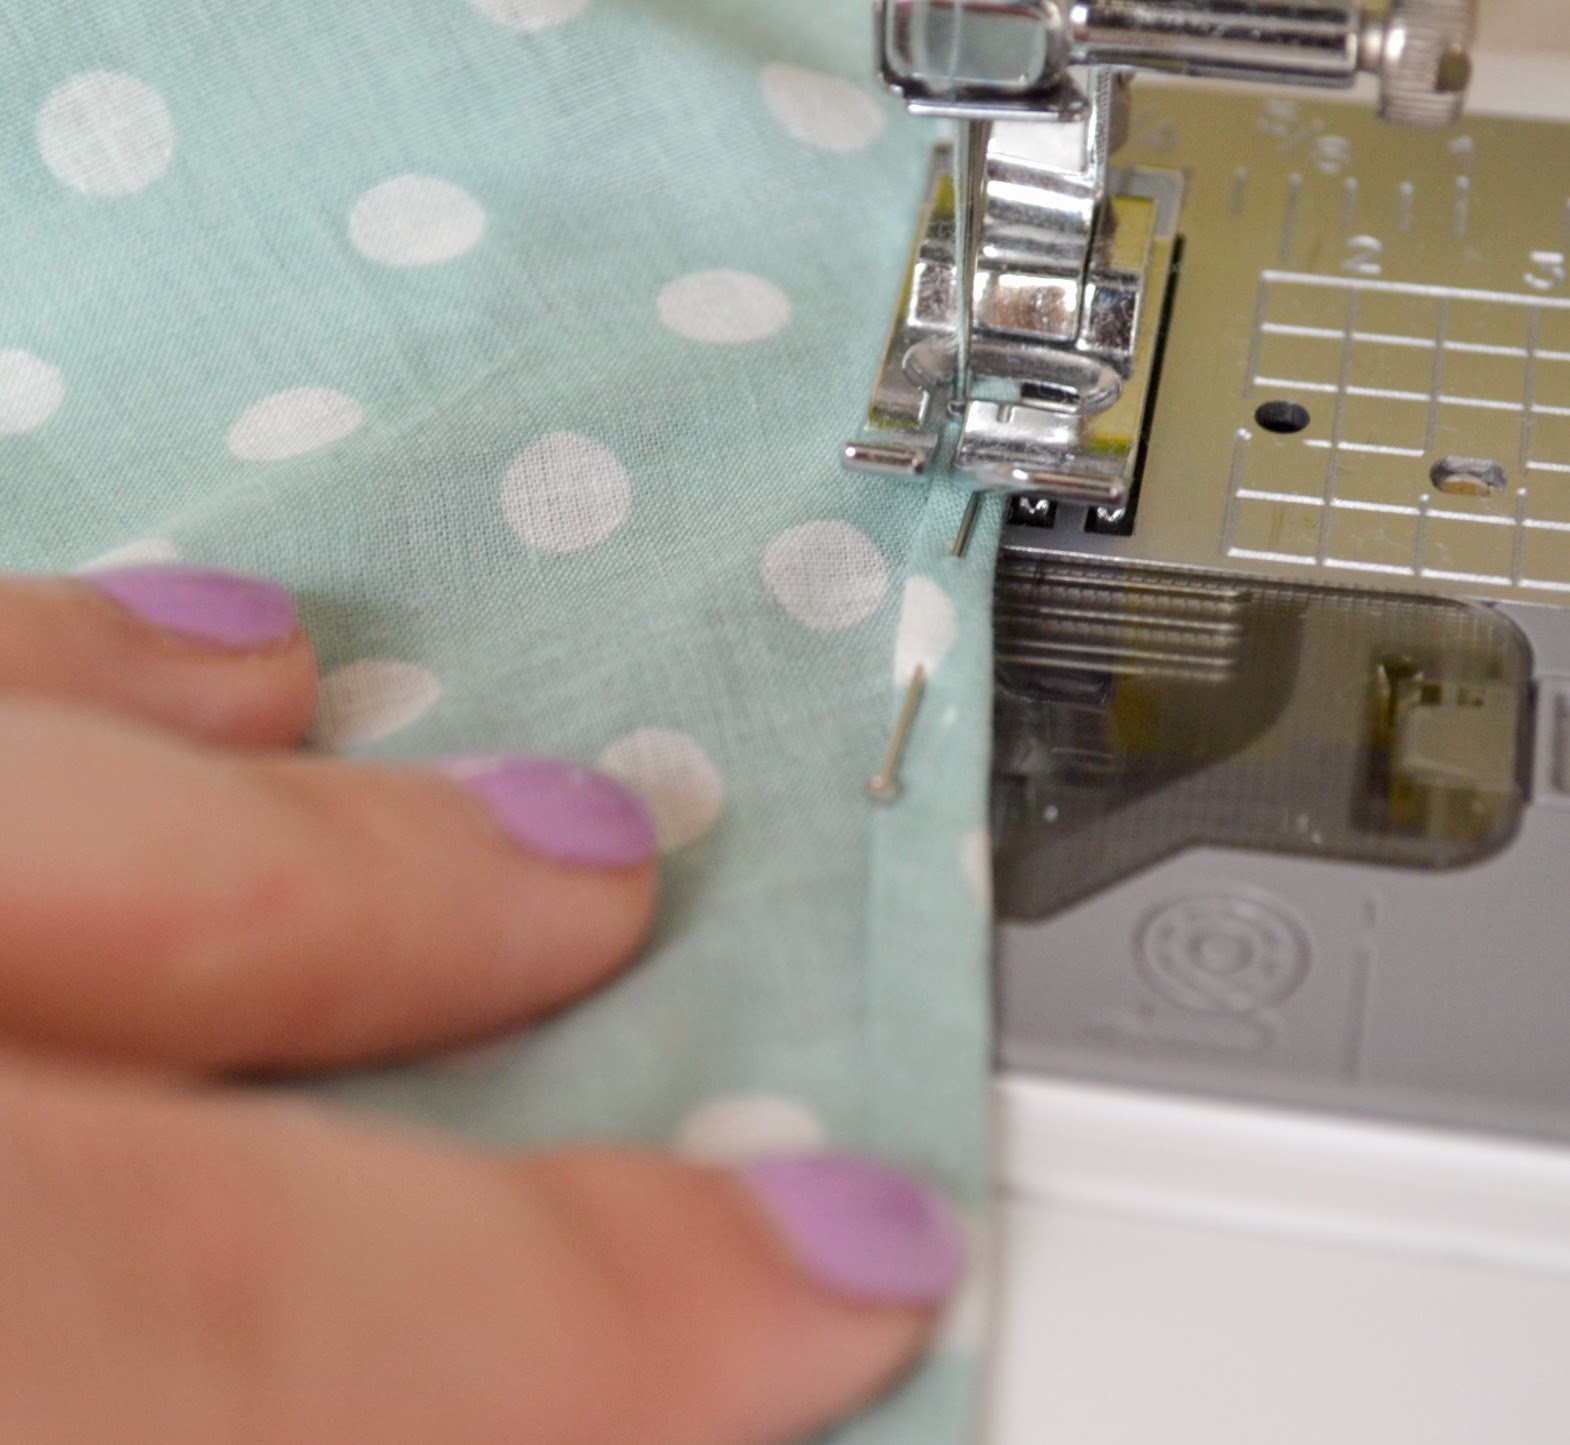
Now it’s finally time to get on the sewing machine.

Thread
up your machine with a thread that matches you material.
Sew the straps together first. Stitch to a 1.5 cm allowance
with a straight stitch. Then do the same with two sides avoiding the armholes
and neckopening. Turn inside out and out should have a basic shape.
Now is probably a
good time to try your top on to see if it fits and if you need to make any
amendments. I had to cut a larger scoop in my neckline as I found it was a
little high for my liking.
You need to finish these edges so I always find the quickest
way is to cut them in half then as I don’t have an over locker, use a zigzag
stitch over the edge. This will stop fraying.

To finish the outer edges I would recommend a rolled hem. To
do this use an iron to press and fold under ½ cm then ½ cm again, use pins to
hold the edge in place before stitching it all down. This gives a nice neat
edge all the way around your garment. Do this on all edges including sleeves
and the hem once you are happy with the length.
And you’re finished!
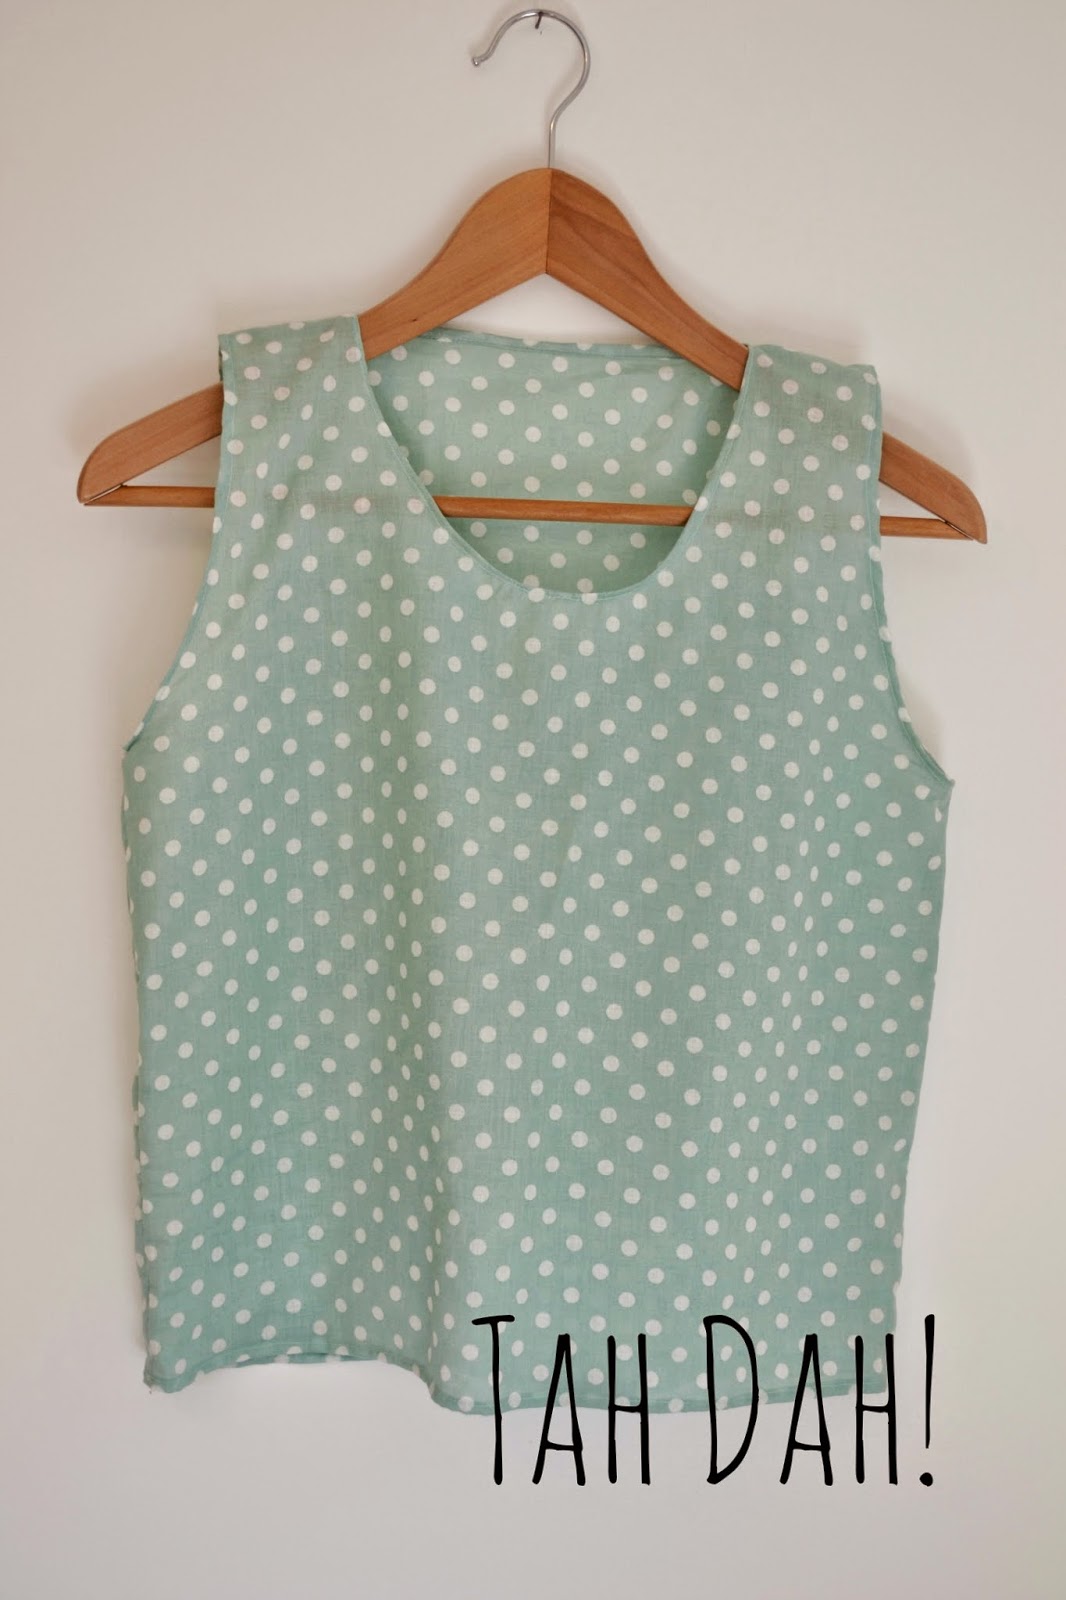
Give it a quick iron and then you are
ready to wear your very own vintage style summer crop top. I love wearing mine with a
pair of high waisted jeans, shorts or tucked in a midi-pleated skirt.


I’d love to hear your thoughts and if you have made anything
similar.
Thanks for reading and happy sewing!

This is so cute! You're so talented at making stuff 🙂 x
http://rachelcoco.blogspot.co.uk
Thank you so much! Your blog is beautiful, love your photography! 🙂 x